
|
 |
 |
 |
 |
 |
 |
 |
 |
 08-03-2009, 02:51 AM
|
#1 |
|
They call me a ride whore

Join Date: Dec 2008
Location: Mills River, NC
Moto: 2004 CBR 600 F4i
Posts: 353
|
Yup, finally changed out my steering head bearings today. It was actually alot easier than I thought it would be! I didn't take nearly enough details pics to write up a how-to (sorry!), but I did snap a few along the way. This is the poor mans method, lol... I didn't have any of the "proper" tools (special socket, bearing/race drivers, hydraulic press, stands, etc), so I had to improvise, hahah
Improvision #1... all I had was a rear stand. If I tried to jack the front up with my floor jack under the headers, it would just tip over off the stand (of course I caught it before that actually happened). So I strapped it down to the stand 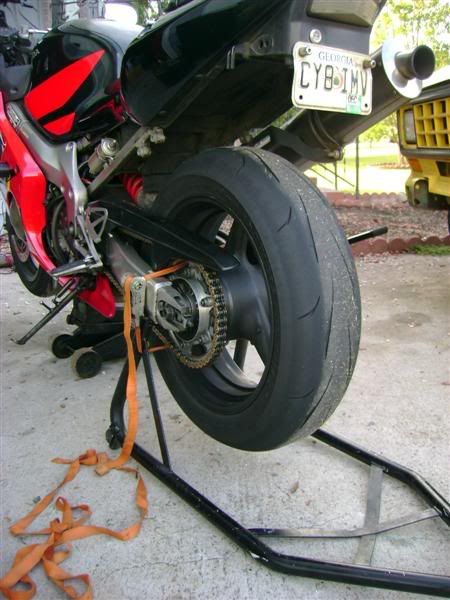 Then I fiddled with the jack some more and finally found a good balance point on the headers where it would go up straight 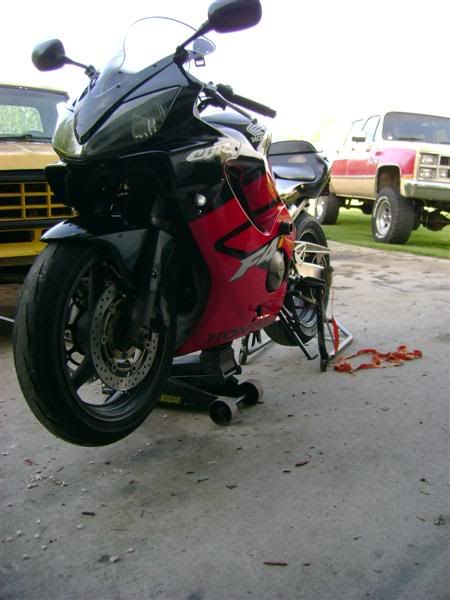 Take apart everything up top 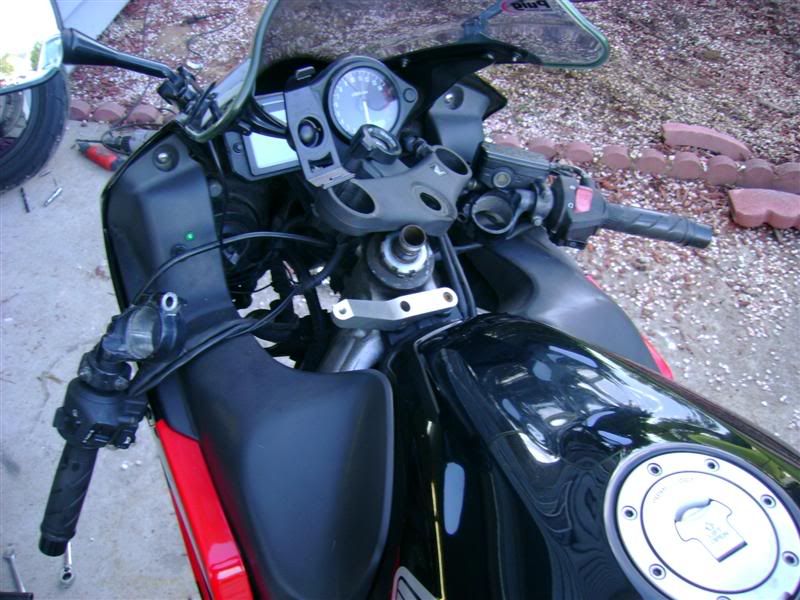 Then pull it all out the bottom 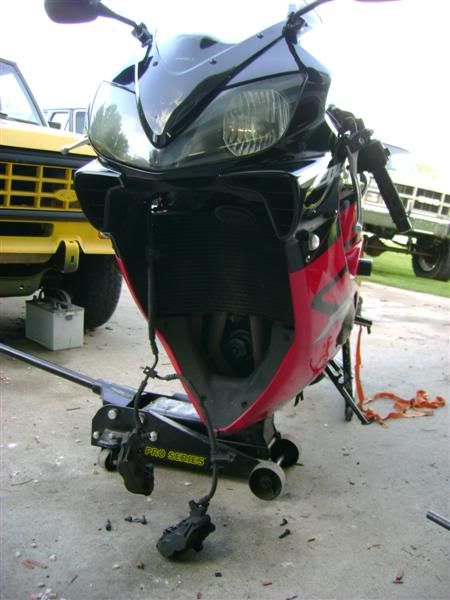 Spare parts aside 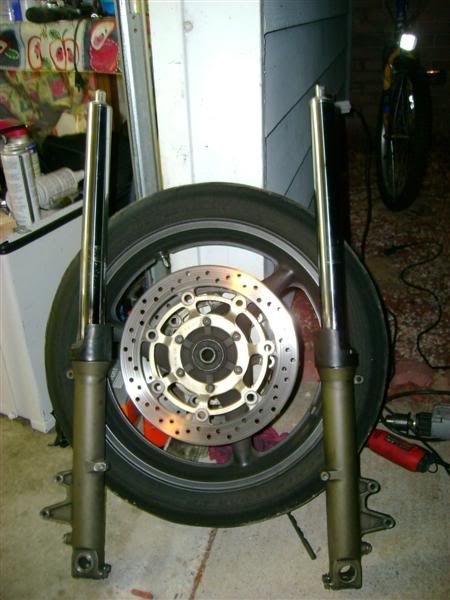 Improvision #2 - didn't have the bearing race removers, so a long flathead screwdriver and a BFH had to suffice 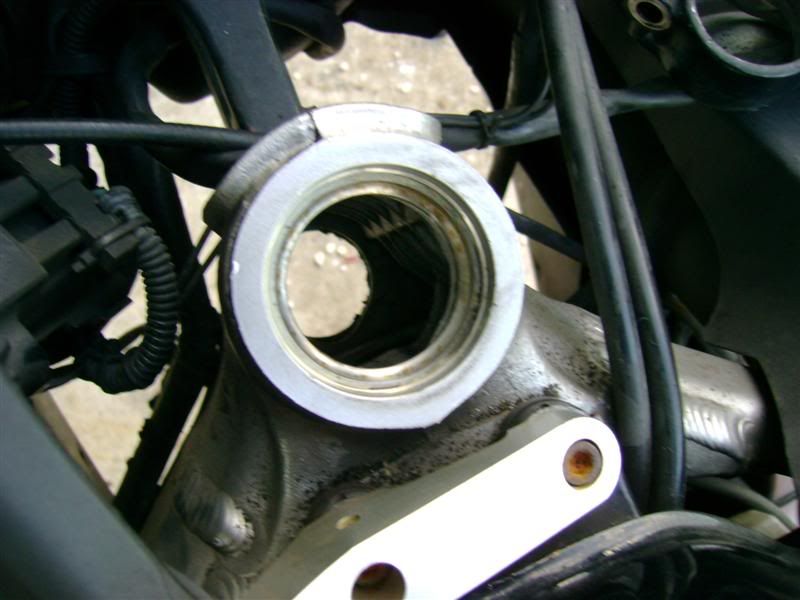 Improvision #3 - didn't have the race installers, so I used the old races flipped backwards to pound in the new ones. Worked like a champ! Lower 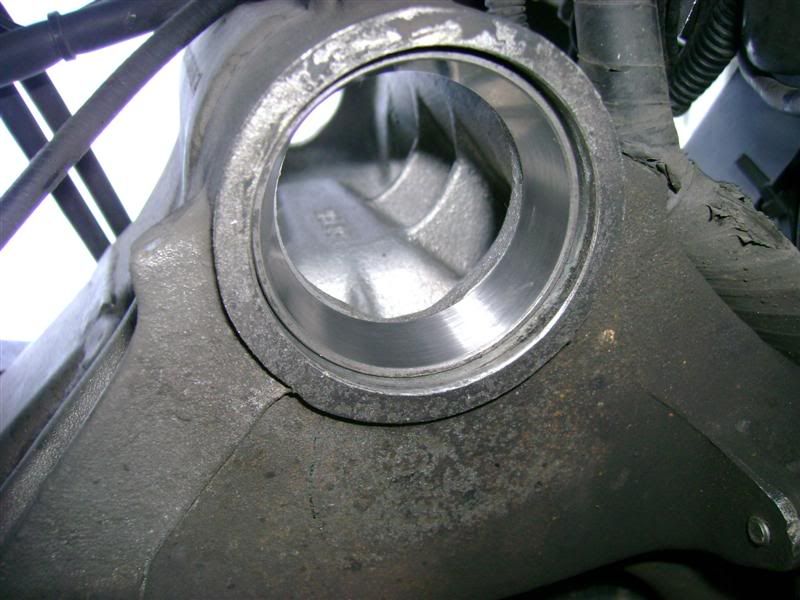 Upper 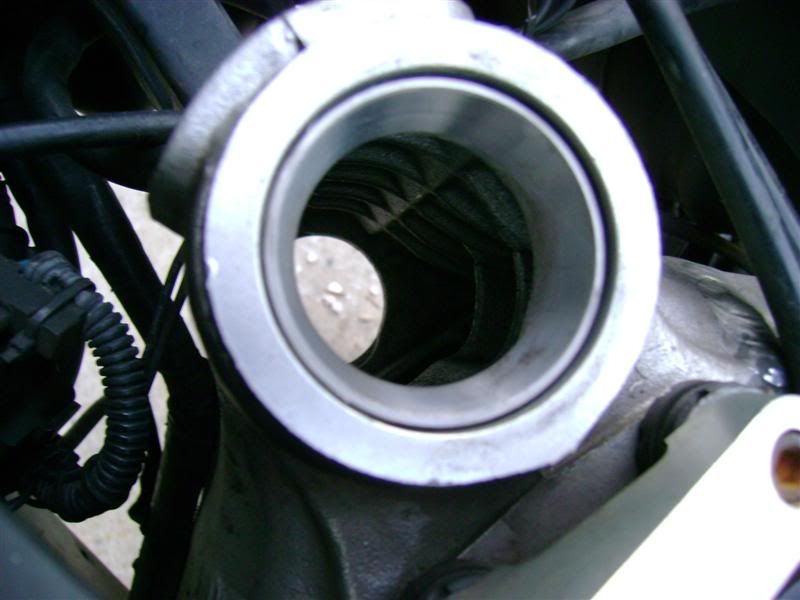 It's nice they give you some little indents on both sides to be able to get a screwdriver on the races to pound them out 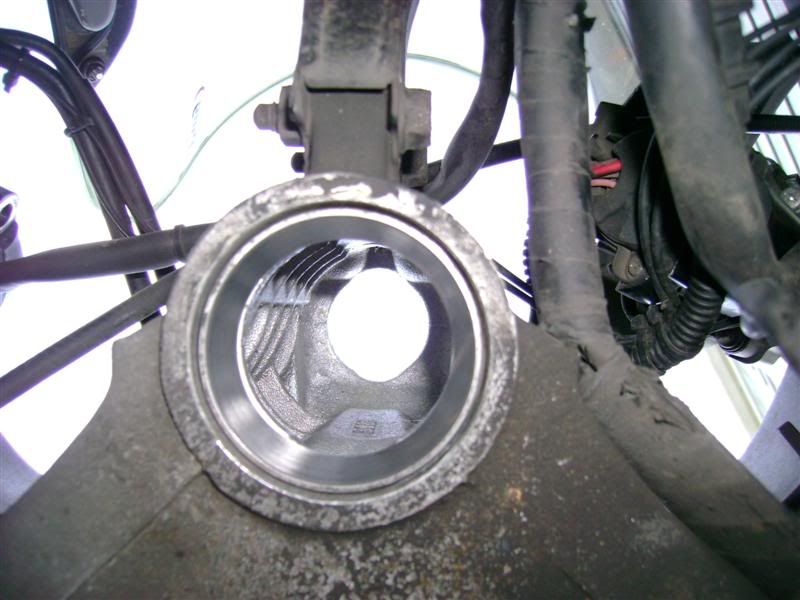 Old bearings VS new bearings. The OEM ones are roller ball bearings, where as the new ones I'm using are tapered roller bearings from AllBalls 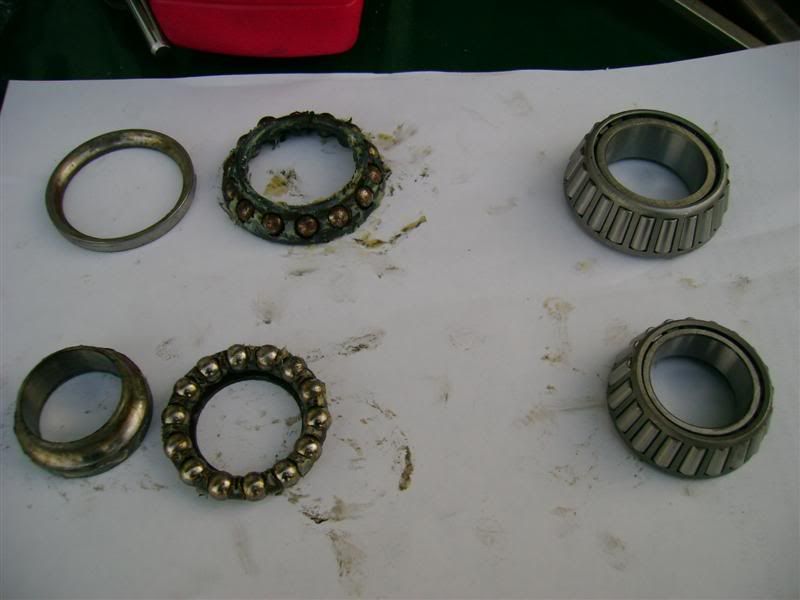 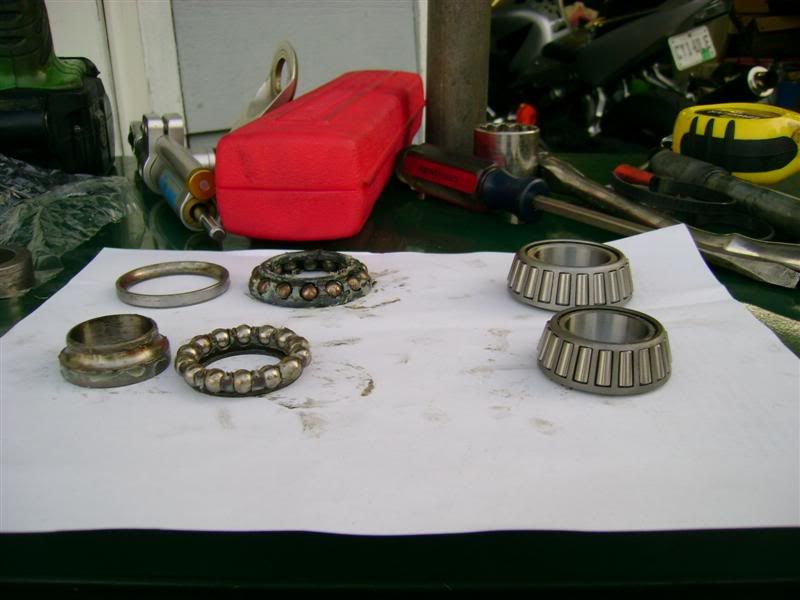 Can't forget the lube!! Put plenty of grease in the new bearings 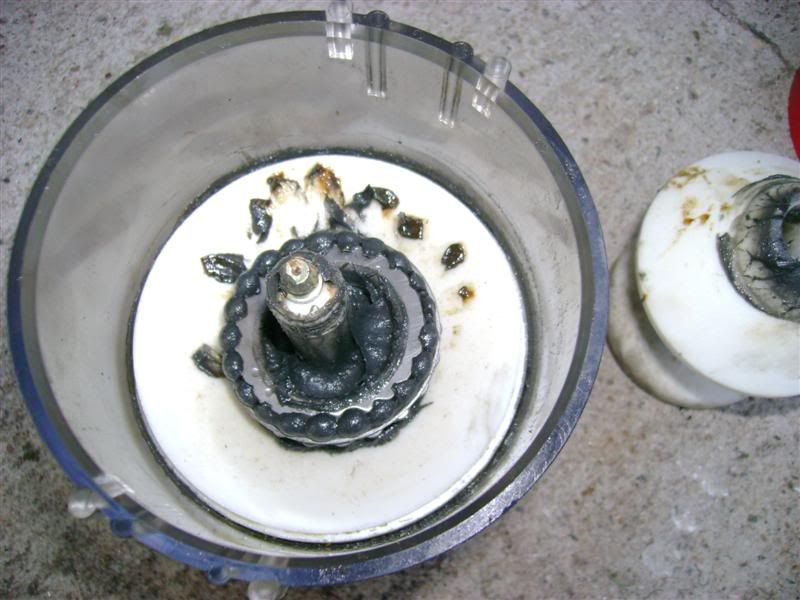 Improvision #4 - didn't have any bearing drivers, so once again one of the old races fit perfectly to drive it down. I had this piece of pipe, but it wasn't long enough to hit with a hammer (although manual says to use a hydraulic press), so I had to use the weight of the pipe itself as a slide hammer to bang the bearing down 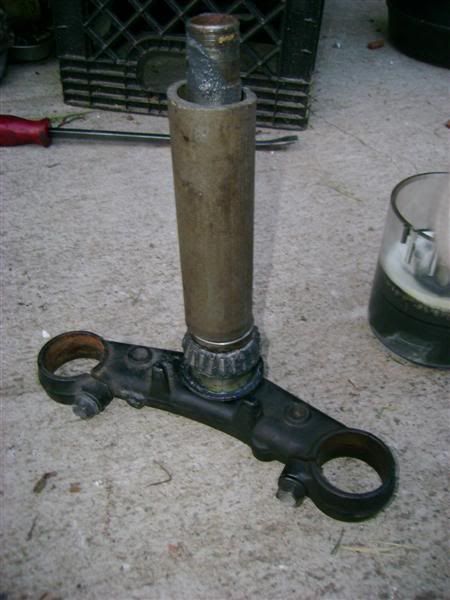 Took a few good smacks, but worked perfectly! 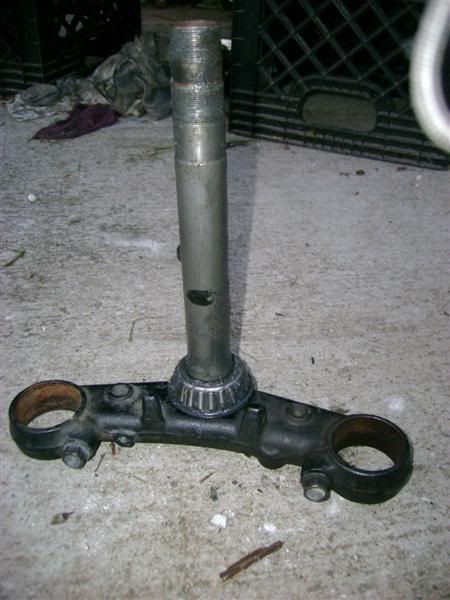 Gotta grease up the new races with plenty of grease too 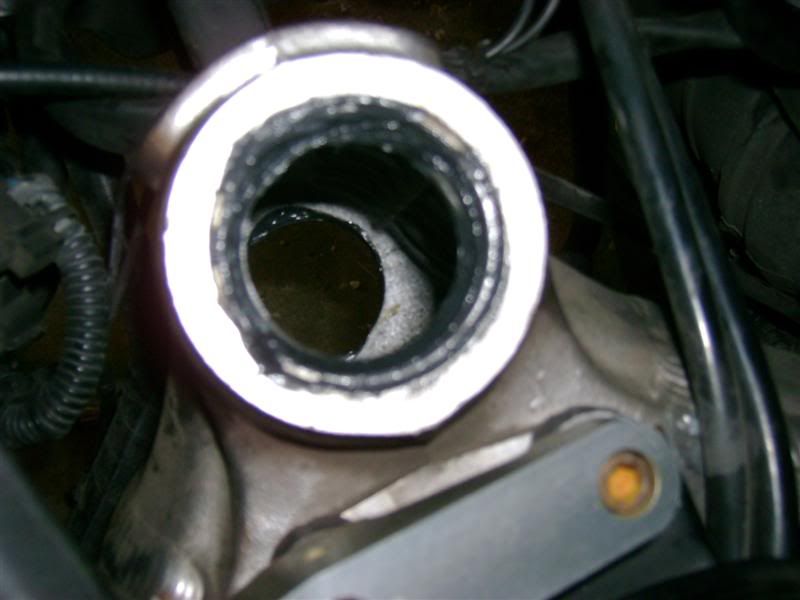 This is the bearing preload adjuster nut... the one I didn't have the socket for. Usually you could use a screwdriver and hammer, but it must be torqued properly so I needed some way to get a torque wrench on it 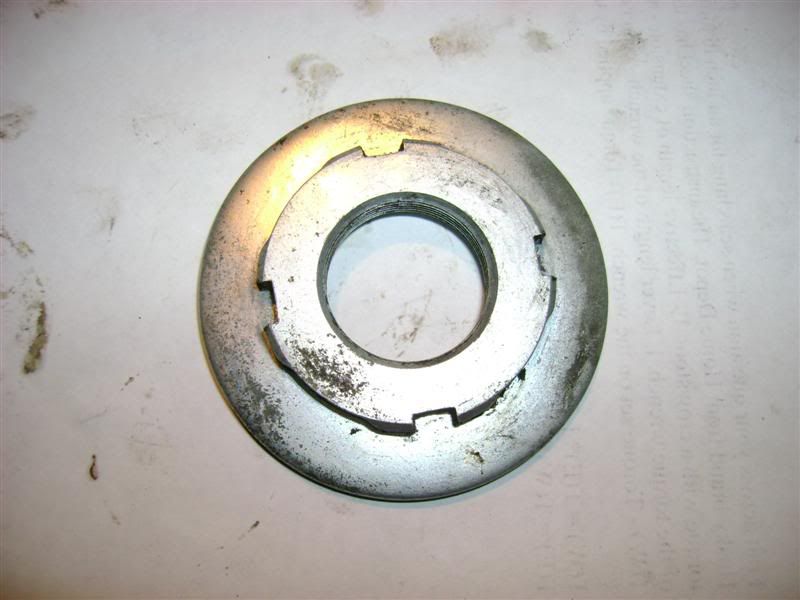 Improvision #5 - I made this! It's just the lil spanner wrench that came in my tool kit for the rear shock. I cut a 3/8" square hole in the handle exactly 2 inches from the center point of the adjuster nut 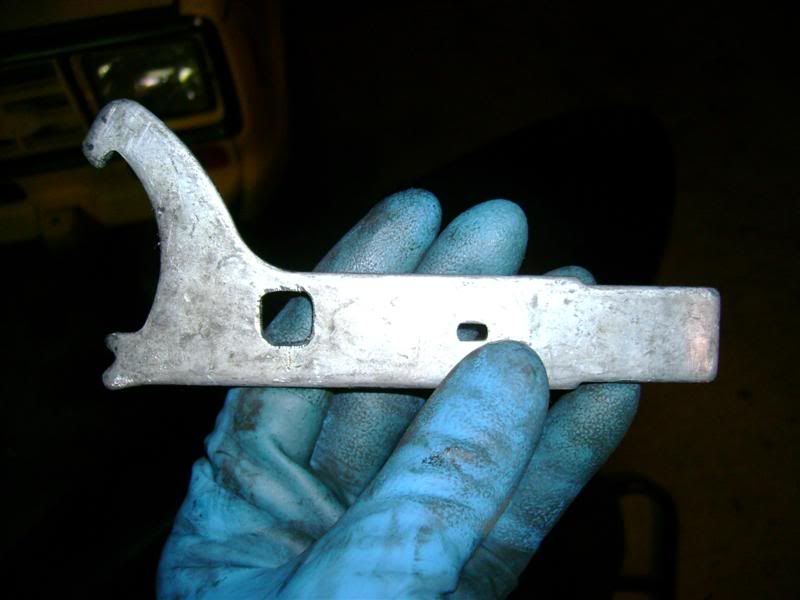 Used the equation (ACTUAL = INDICATED x (WRENCH LENGTH + EXT. LENGTH) / WRENCH LENGTH). Found that my torque values went from 216 in. lbs down to 175 in. lbs. Worked like a champ! 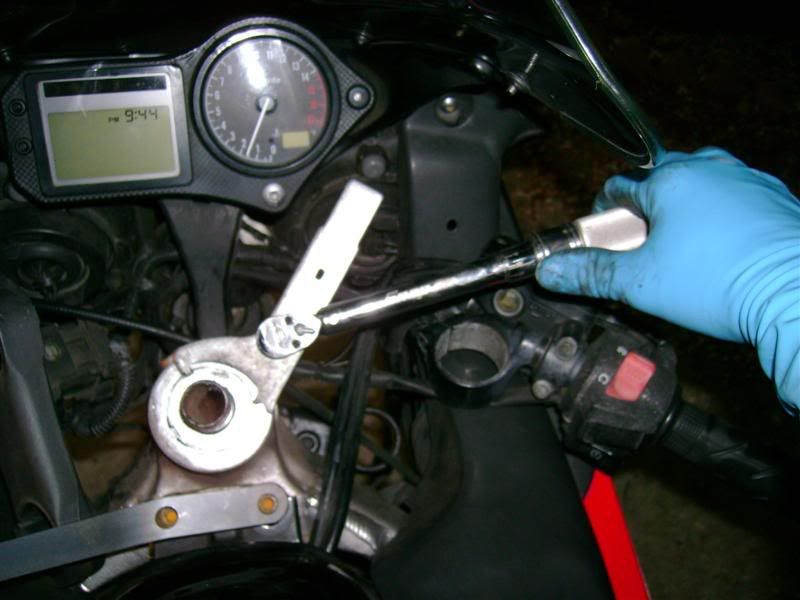 Then reinstall forks 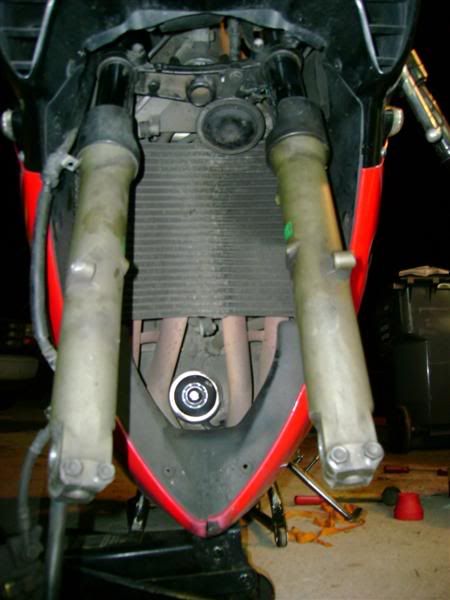 Snug everything up 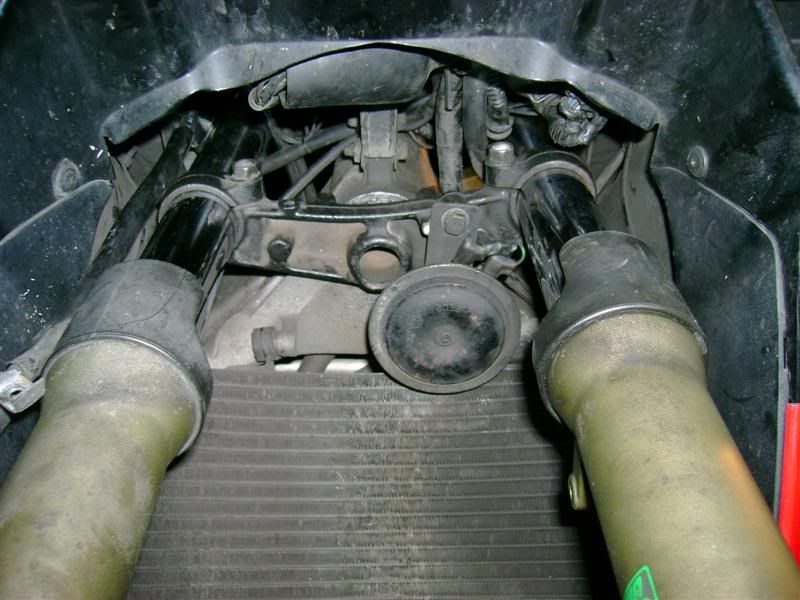
__________________
-Jared Black/Red '04 CBR 600 F4i - 253,500 miles and counting Black '89 Accord LX-i sedan - 435,200 miles still going strong States visited on my F4i  facebook.com/thirdgenlxi |

|

|
| Bookmarks |
|
|


 Threaded Mode